
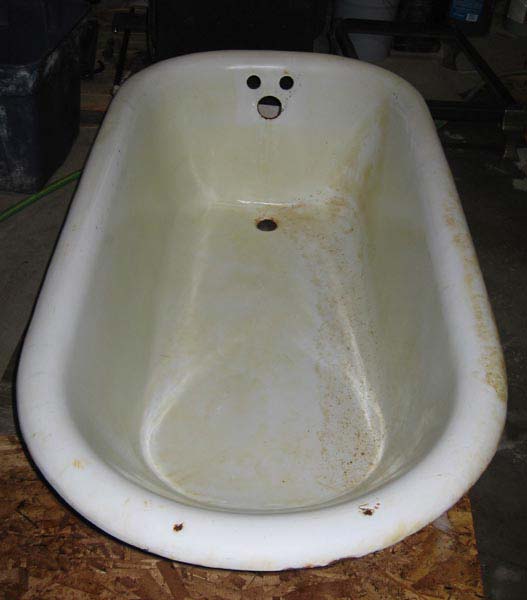
It's really amazing how different the tub looks. Going back through the pictures I've taken of the tub through the various stages is pretty impressive. This is what it looked like after I washed the dirt and fir needles out of it:
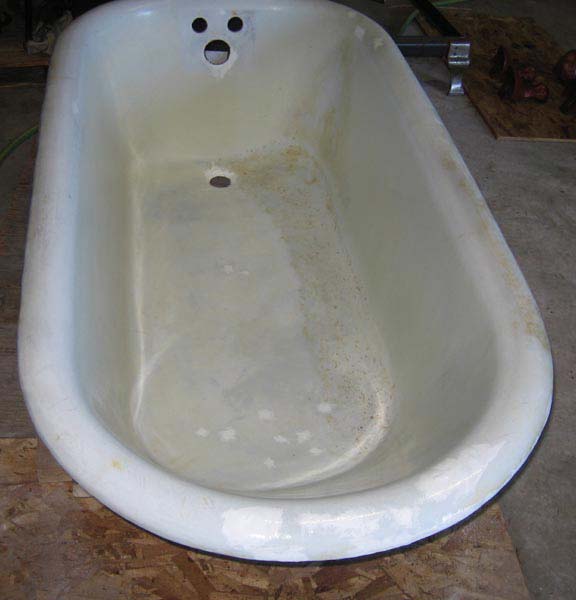
This is after several scrubbings with steel wool, simple green, Bon Ami, CLR and TSP, as well as the application of the chip fix compound which really shows how discolored the enamel was by age. Some discoloration did come off with the scrubbing (compare to picture above), but by no means all of it.
 To the left here is a close up of the rim, showing a couple of the larger chips on the back rim of the tub. To the right is the same section of the rim, after several successive layers of chip-fix and last night's new enamel coating.
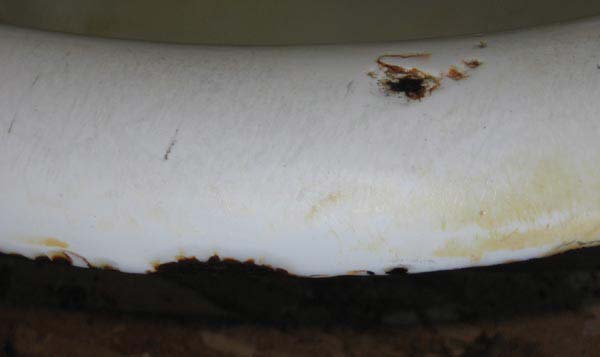
 It's still not perfectly smooth, there are some flat spots along the rolled edge, but I doubt anyone but me will ever notice. Especially since this edge will be about an inch from the bathroom wall. :)
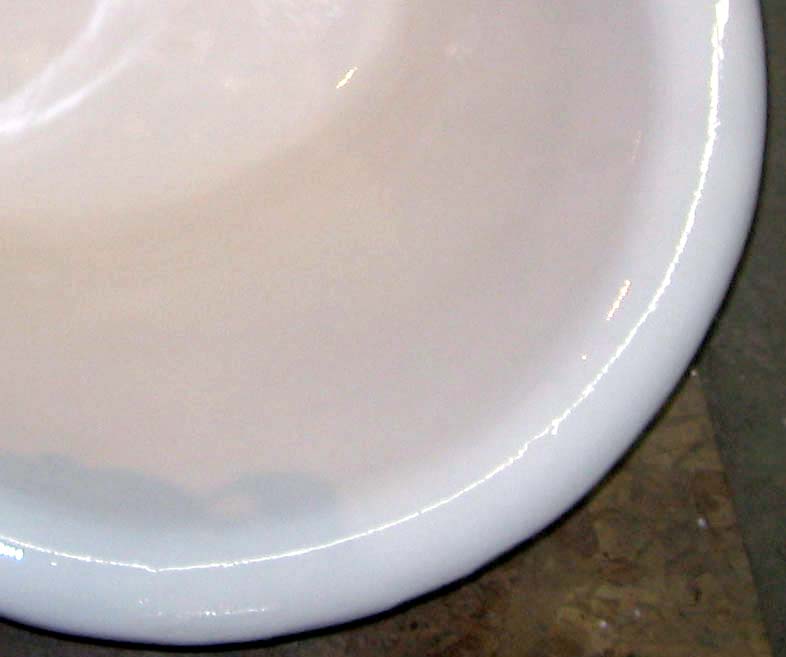
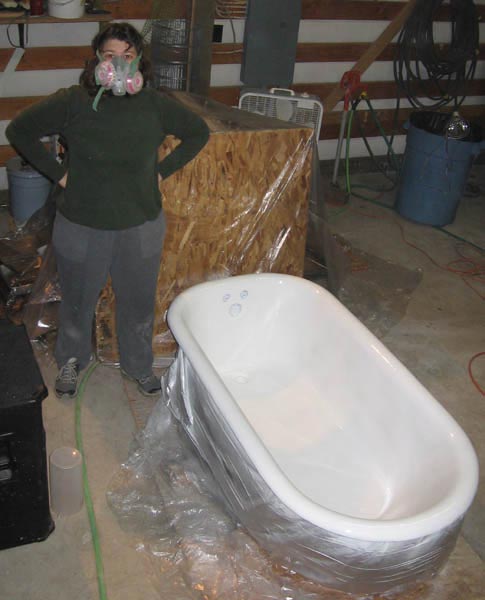
And here's the finished first coat. Tonight I'll go out and put on the second and hopefully final coat, after sanding out any drips (fingers crossed, maybe there won't BE any - we TRIED to spray it on lightly and evenly). According to the package, in some cases a third coat is required, but I am hopefull that we won't have to do that, because it would probably require buying another batch of the epoxy. I guess we'll know in a couple of days, when we get a look at the cured finish.
In other exciting news, they started siding the house yesterday! I'm really pleased. It will be a real releif to get the siding up on before the wet weather really kicks in. Not to mention the exterior paint. Also it looks really cool, compared to tar paper. ;)
2 comments:
wanted to see how the enamel is holding up and which kind you used
Well it's been 5+ years now and it's holding up great - no chips, dings, flakes or discolorations. I don't remember the name of the product - as I recall, our local hardware store only stocked one kind. It was a two-part epoxy in a spray can, which was a bit of a challenge, but once we got the instructions figured out it worked pretty well. We did end up using three coats to get a perfectly smooth finish, and it still looks beautiful.
Post a Comment