Showing posts with label drywall. Show all posts

Monday, October 09, 2006

Digitally Painted Siding

So you know how in my last post I instructed you to imagine that the siding was painted Bronze Green? How archaic! We've got computers now, so I can digitally paint the house. Here it is: the latest picture of the west side of the house (notice they got more done on Friday) with the paint color photoshopped onto the siding. Looks pretty sweet, doesn't it?
Inside, the mudding was finished up and left to dry over the weekend. Here's a picture of Cary examining the mudding in the window arch pop-up in the bedroom. It really is turning out nicely. One of the best mistakes I've ever made. :)According to Mark the sanding began today. I'm not sure if they can do the whole thing in one day or if it will take a few, but it won't be too much longer anyhow. If all goes well we should be painting (or at least primering) the interior by the end of this week! Mark says it will take less than a week to do all the painting & texturing, and then after that the cabinets can go in, along with other interior finish work, like the flooring and the electrical fixtures.

Thursday, October 05, 2006

Soffits & Trim

The second floor windows and corners were trimmed out yesterday, and the tarpapering was finished in preparation for the actual siding. Here's a picture of the dormer windows all trimmed out:
You can't really see it in the picture above, but the soffits were also closed up yesterday, with ventilated hardyboard. Here's a close up of what they look like now:
I expect a lot of siding will go up today, since it looked (to my admittedly totally untrained eyes) like they had all the prep work done. I realize it's been a while since I put up a picture of the whole house, but it's because the exterior appearance hadn't really changed for a while. The sidning will change that - you can expect a couple whole-house portraits here sometime in the next few days.

The bathtub finish wasn't as good as I had hoped on the first coat, we had some drips and runs and some "texturing" around the edges where the plastic we tented over the tub on sawhorses (to keep dust from getting on it while it dried) touched it. Drat. I sanded out what I could and put on the second coat last night. Now I'll let it cure for 5 days as instructed, and then we'll evaluate the finish. I think it's likely that we'll need to sand a little more and then go for a third coat to really get the nice smooth and even finish that I want. {sigh} But we're making progress, even if we aren't quite done with it yet.

Mudding and Taping continues, although it looks like it's pretty close to done. Again, I'm not necessarily a good judge of these things, but it just doesn't look like there's that much left to do. They'll probably leave it to dry over the weekend and hopefully the sanding can start early next week... bringing us ever closer to painting. :)

Friday, September 29, 2006

Munchkin & Rinnai in the house

The Rinnai on-demand (aka tankless) hot water heater was intalled yesterday, as was the Munchkin boiler for the radiant floor. Both run on propane and are super efficient. It costs more up front to install these types of appliances, but the energy efficiency will be worth it in the long run. There is a little further hook-up still to be done, as you can see in this picture, the water hasn't been connected yet to the Rinnai:

Here's the Munchkin and its associates, various pressure gages, nozzles, valves, tanks and vents. I'm not sure what all the parts do yet, but at some point I'll get somebody from Barron Heating to go over the whole system with me, because not only am I curious but I figure as a homeowner I should know which valves to turn and other maintenence tidbits. There are still some wiring and other connections to make with this as well.
Here it is with the cover opened, so you can see all the "guts".
On the inside, the mudding and taping has begun, which looks like this:
Fortunatley the weather has continued warm, so the mudders aren't suffering any fall chilling while the heating system is being completed.

Thursday, September 28, 2006

Ready to Mud & Tape

While I was gone the Scrappers did their thing, cleaning up all the sheetrock scraps and getting everything ready for the mudding and taping to begin. There's paper down on the floor all through the house, as you can see in the picture below.
Also, they've started putting the corner-angle-reinforcement things on the corners. You can see them in the picture above, but here's a close up:
The mud and tape are all stocked in the house, ready to go.
Cary took these pictures Tuesday night, and last night we both got home too late to go out and see if the mudding and taping had started. So I'm really excited to get out to the site tonight after work and see what's new since I left on Monday. This is the longest I've gone without checking in since the construction started - I miss my house!

Update - Which is not to say I didn't miss Cary too! But I was able to talk on the phone with him while I was away. My house, on the other hand, is not yet able to use a telephone. Or talk. :)

Thursday, September 21, 2006

Progress Report

Folks keep asking me if we're almost done. "Surely there can't be THAT much more to do" they say. "How can it possibly take 3 more whole months?" (Hardly any of our friends have ever built or remodeled anything before - how'd you guess?) So, I thought it would be useful to detail what's left to be done, roughly in the order which it will all occur, on the way to completion. (At least as far as I understand them. I'm probably oversimplifying and leaving important stuff out.)

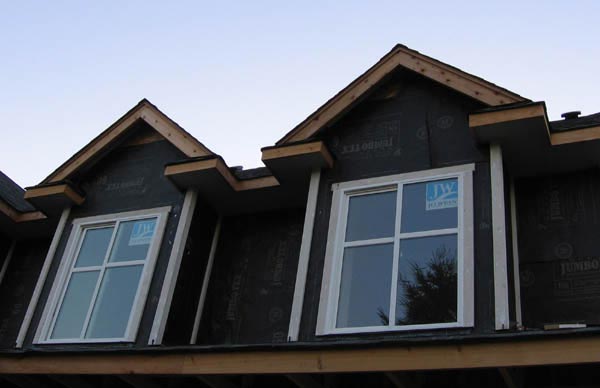
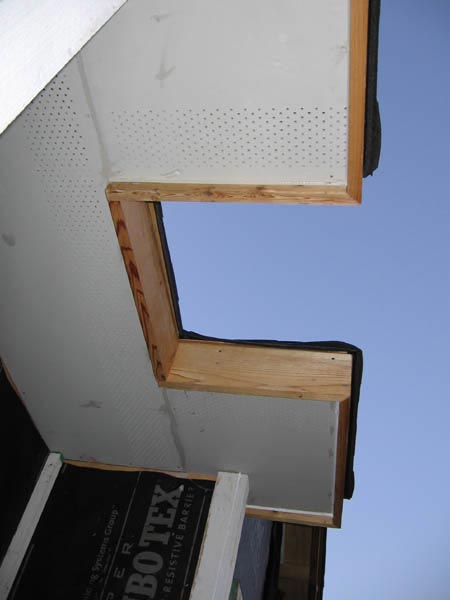
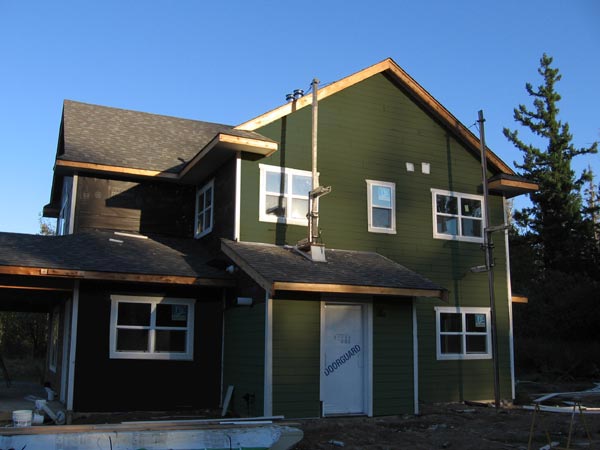
On the exterior, we've got a crew coming sometime soon to do up the siding & the rest of the trim. The soffits need to be closed, and then everything needs painting, except the shingles. After the painting, gutters & downspouts will be installed and that will about do it. So really, most of the work still to go is on the interior...

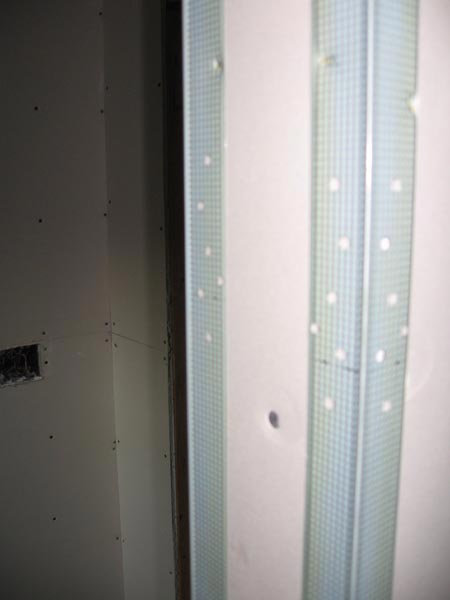
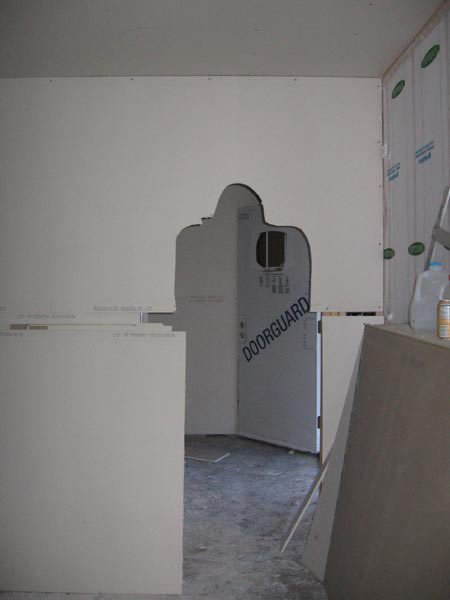
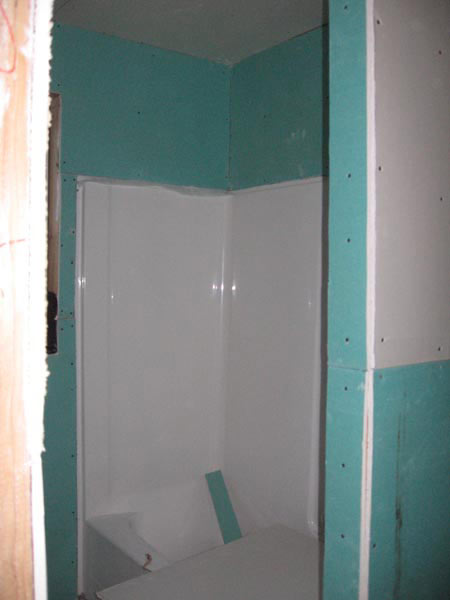
...where we're currently at the sheetrocking stage. Yesterday the hangin' crew finished up, as you will see in the pictures below.

Next, the Scrapping crew will come take away both the unused sheetrock and clean up the scraps. They'll also put plastic down on the floor to prepare for the mudding.

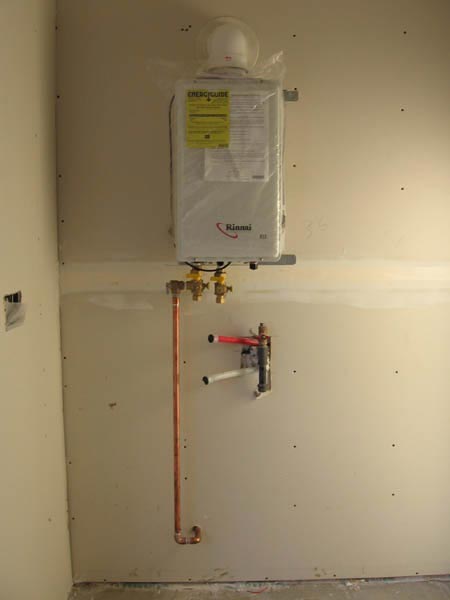
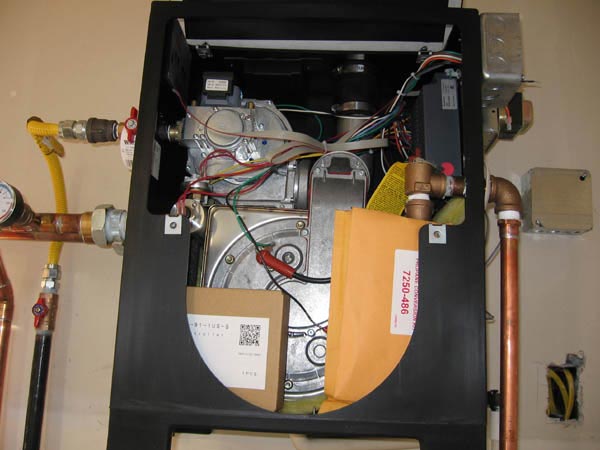
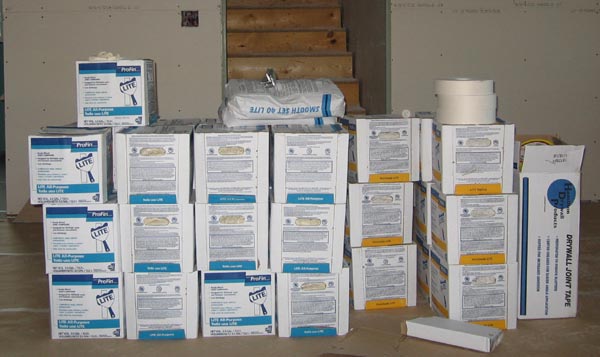
The Taping crew will then come mud and tape all the seams and corners and stuff of the sheetrock. This is aparently very messy. It will then take a while for all the mud to dry. It will help the mud to dry (and make the taping crew happier) if we can get the heat turned on, which means connecting the propane (scheduled for next Monday) and installing the boiler (Tuesday?). It will take the radiant heat floor a couple of days to come up to temperature. We also need to have the attic insulation put in asap so we don't waste too much of the heat.

When the mud is dry, the Sanding crew will come through, and as you might have guessed, sand down the mud. This is also rumoured to be very messy.

After that, the whole mess gets cleaned up, and then the whole house will be masked off in preparation for painting. First everything will get a coat of primer, which will probably have to dry for a day.

Once the primer is dry, the texturing goes on - "orange peel" is what we've chosen.

After the texture dries, they do another coat of primer to help seal it.

Then the actual wall paint goes on. When it's dry, they'll unmask everything, and clean up from all of that.

Then, Andy & Frank, the electricians, will come back and install all the light fixtures and outlets and stuff, so we'll have light and power accessable in the house.

Around this time they'll probably put in some of the plumbing fixtures too, like the toilet for instance. Because no-body wants to spend more time in a port-o-potty than necessary.

Interior trim and doors is the next thing. Once all the trim is in place, it needs to be painted, so that's more masking and drying time and unmasking and clean up.

At some point here towards the end, the flooring gets installed. Cabinets, shelving appliances, the rest of the plumbing fixtures and the wood stoves are also towards the end, but once they're in, we're done! :)

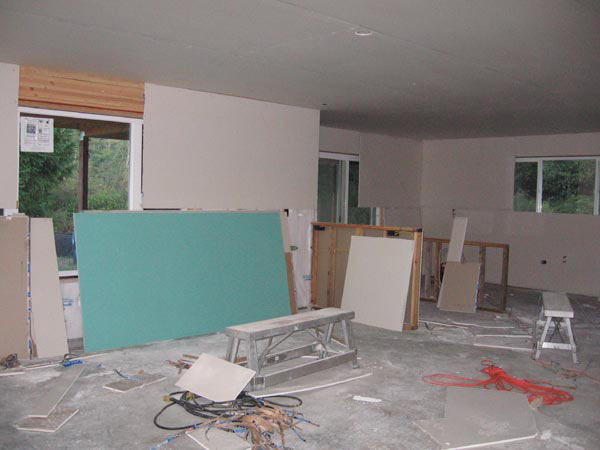
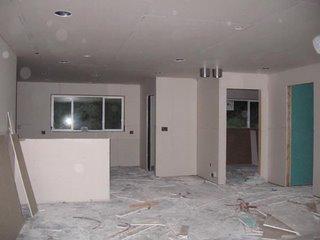
So now for the pictures (sorry about the dirty lens! I promise I'll clean it before taking more pictures) here's the kitchen and main room:
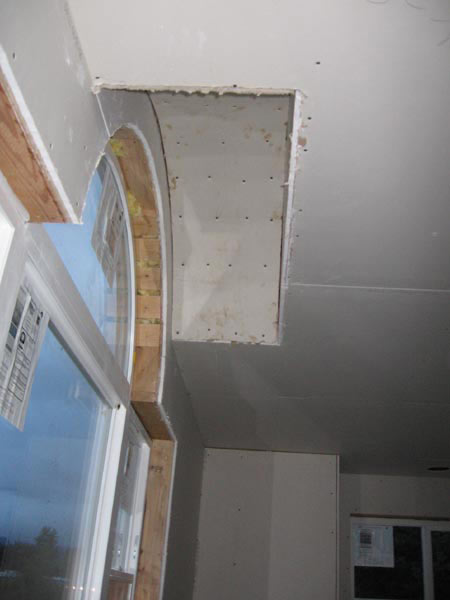
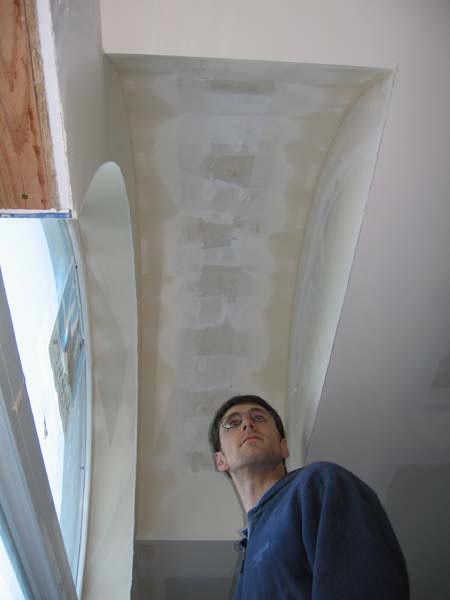
Here's the finished arch in the upstairs front bedroom:
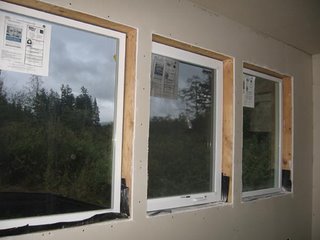
And here are the windows in the sunroom, looking out on the swamp at dusk on a rainy day. Ahh... so peaceful and wet.

Wednesday, September 20, 2006

Drywall & Sheetrock & Wallboard, Oh My!

Whatever you call it, they started hanging it up yesterday! I know it's just one of many steps in the whole house-building process, but psychologically it's such a HUGE one. Not to knock the plumbing or the wiring or any of the other things which have been going on, but this is the most exciting thing I've seen since framing. I was so excited I did a little happy dance as soon as I saw it. It's still a long way from finished, but it's so cool I had to take (and post) a bunch of pictures.
The house had a strange feel to it, not just because of the mess of drywall fragements all over the place, but also because many of the windows and doorways haven't been fully cut out yet, so it's strangely dark. This is the doorway into the living room from the front entryway. Looks like a sasquatch just busted through...
Here's the upstairs hallway. To the immediate right is the stairway down. Straight ahead to the right at the end of the hall is the laundry/craft room, to the left is the back bedroom. Between the stairway and the laundry door you can just make out the bathroom doorway.
In the bathroom you can see the "greenboard" which is used in areas that will have moisture or high humidity. It's sure a lot harder to take pictures now that the walls are rocked. I think every previous picture that I've taken of the tub I took from the laundry room, through the wall.
Here's the bedroom with the curved window bump-up. The arch hasn't been sheeted yet but just having the ceiling closed really helps give an idea of how the finished room will feel.
Also, the dormer windows were installed yesterday. They'd been keeping the spaces open because they provided nice easy access to the roof, but with the weather turning rainy and the drywall going in, it didn't make sense to leave them open any longer.

Tuesday, September 19, 2006

Pocket Doors Framed

Both the pantry and the front entryway have pocket doors, and both were framed in yesterday. This is one of the last peices needed to really see the definition of the rooms as separate spaces, so it's fun to have it done. Here's the Pantry:
Also, the sheetrock was "stocked" in the house, meaning there are big stacks of it leaning up against the walls in just about every room. You can see it in both of these pictures. I'm not sure exactly when the hanging crew is going to start, but it shouldn't be too long from now. Talk about defining the rooms as separate spaces...

I had to make one design change to keep us in line with the budget - we had originally wanted to have rounded "soft-line" corners for all the walls, but yesterday we decided to go back to regular 90º corners. It will only save a couple hundred dollars on the sheetrock instalation, but will also make the trim placement and painting much easier. We were looking at the soft-line corners as a way of making it hurt less to run into them, mostly, but of course any corner will hurt if you bang your shin into it hard enough. Robin also says that the 90º corners are more durable, and if they do get damaged are much easier to repair, so that makes more sense for the long run.